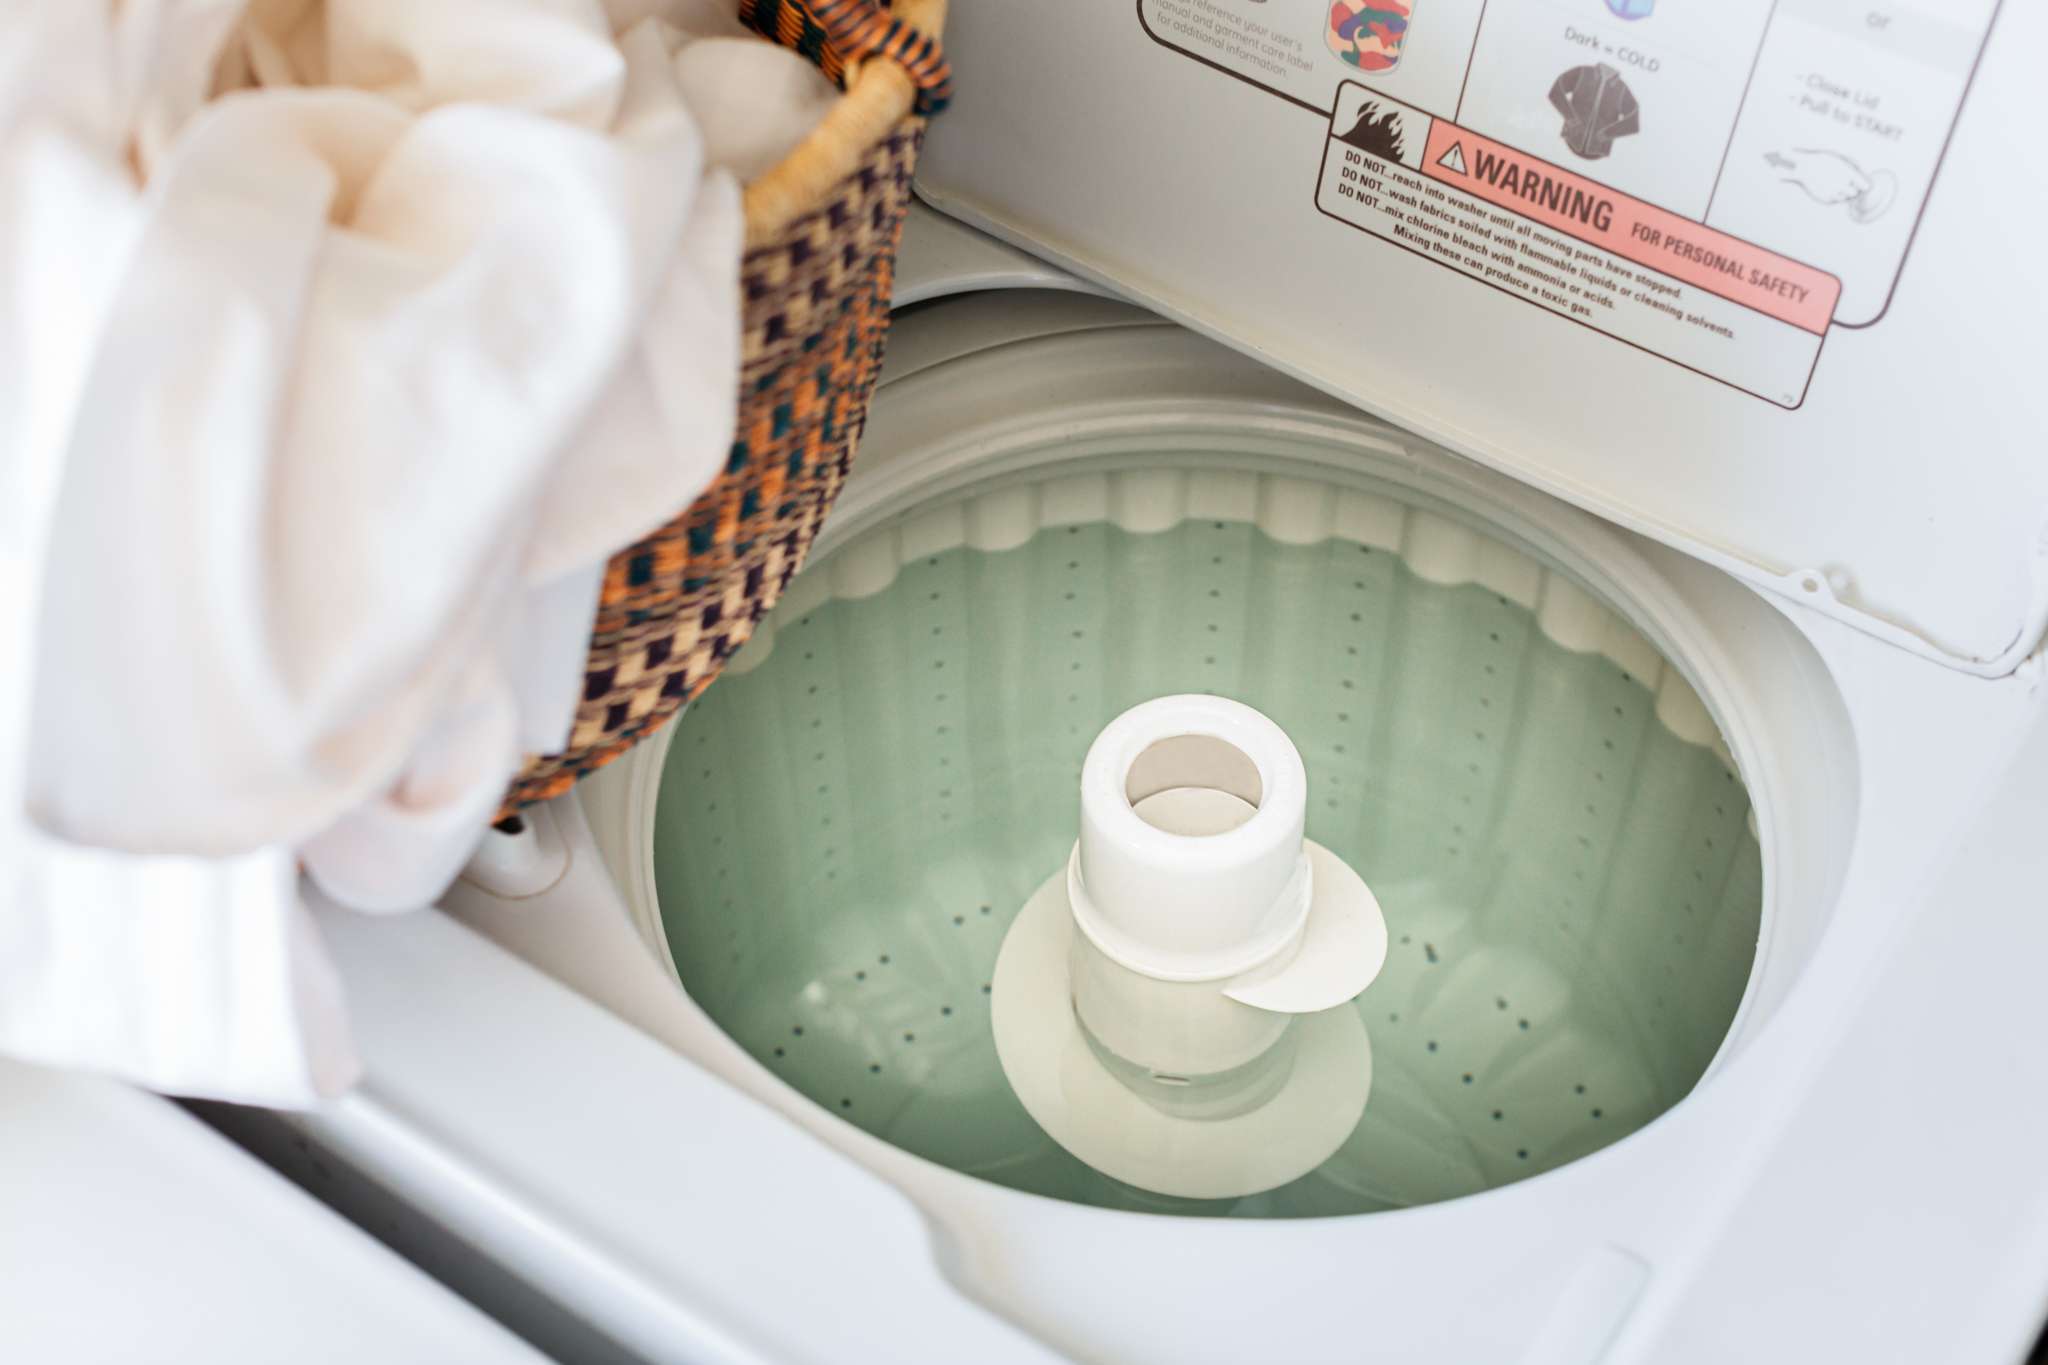
If your Whirlpool washing machine keeps filling and draining, there may be an issue with the water level or pressure switch or a clogged drain hose. This can prevent the appliance from completing its cycle properly, leading to inefficient washing results and potential damage.
Regular maintenance, such as checking and cleaning the switch and hose, can help resolve this issue and ensure optimal performance. Identifying the root cause of the problem and performing the necessary troubleshooting steps will allow your Whirlpool washing machine to function correctly, saving you time, effort, and potential repair costs.
Common Causes For Continuous Filling And Draining Issues
If you’re encountering the frustrating problem of your Whirlpool washing machine continuously filling and draining, it’s important to identify the root cause of the issue. This malfunction can disrupt your laundry routine and lead to potential water damage if left unresolved. In this section, we will explore three common causes for continuous filling and draining problems: a faulty water inlet valve, clogged water inlet filters, and malfunctioning water level pressure switch.
Faulty Water Inlet Valve
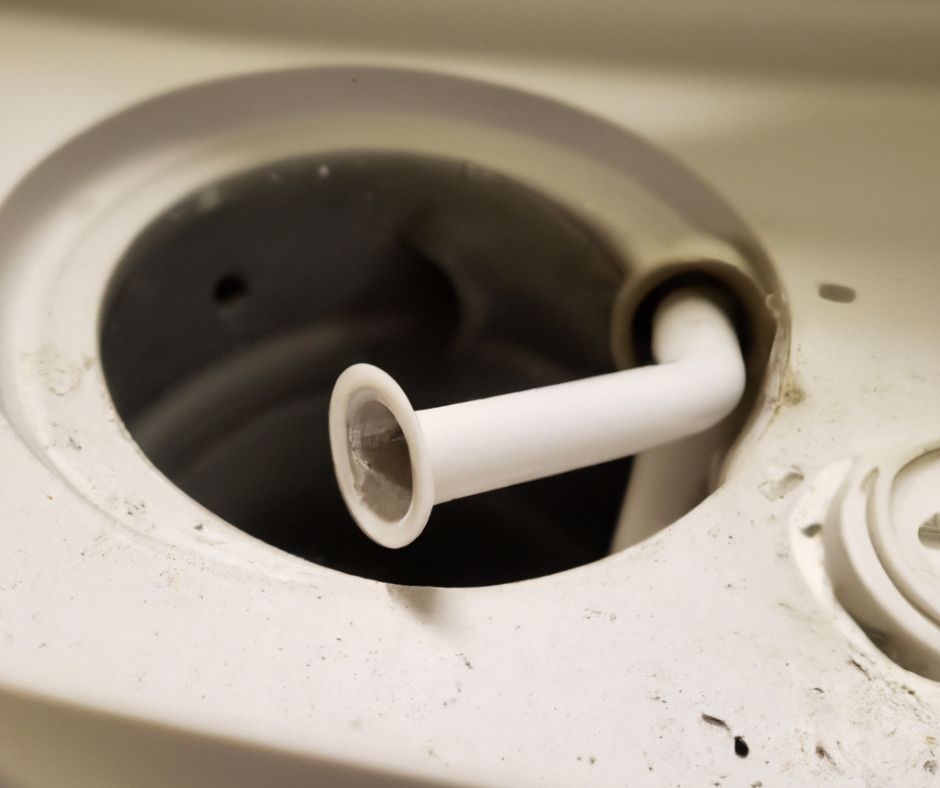
One of the primary culprits behind a Whirlpool washing machine continuously filling and draining is a faulty water inlet valve. The water inlet valve is responsible for controlling the flow of water into the machine. If it becomes defective or gets stuck in the open position, it can cause the appliance to continuously fill and drain water.
Solution:
To determine if the water inlet valve is the cause of the issue, you can perform a simple test. Unplug the machine and turn off the water supply. Disconnect the hoses from the back of the machine, and inspect the valve for any visible signs of damage or debris. If you notice any leaks, cracks, or blockages, it’s likely that the water inlet valve needs to be replaced.
Clogged Water Inlet Filters
Another common reason for continuous filling and draining issues is clogged water inlet filters. These filters prevent dirt, debris, and sediment from entering the washing machine and causing damage to the internal components. Over time, these filters can become obstructed and restrict the water flow, resulting in irregular filling and draining cycles.
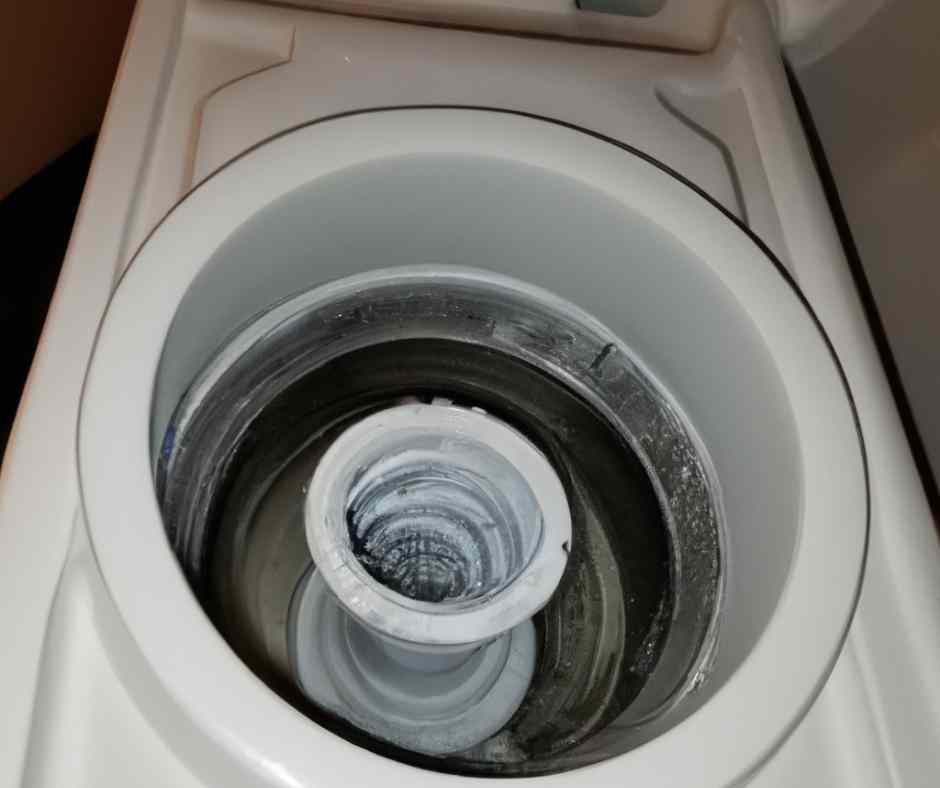
To resolve this problem, you can clean the water inlet filters. Start by unplugging the machine and turning off the water supply. Locate the filters, usually positioned at the back of the machine where the hoses connect. Carefully detach the hoses and remove the filters. Rinse them thoroughly under running water until all the dirt and debris are cleared. Reattach the filters, ensuring a secure connection, and test the machine to see if the issue is resolved.
Malfunctioning Water Level Pressure Switch
The water level pressure switch is an essential component that controls the water level in your Whirlpool washing machine. When this switch malfunctions, it can cause the machine to continuously fill and drain water, as it fails to detect the correct water level. This can stem from a faulty switch, loose connections, or blockages in the air tube.
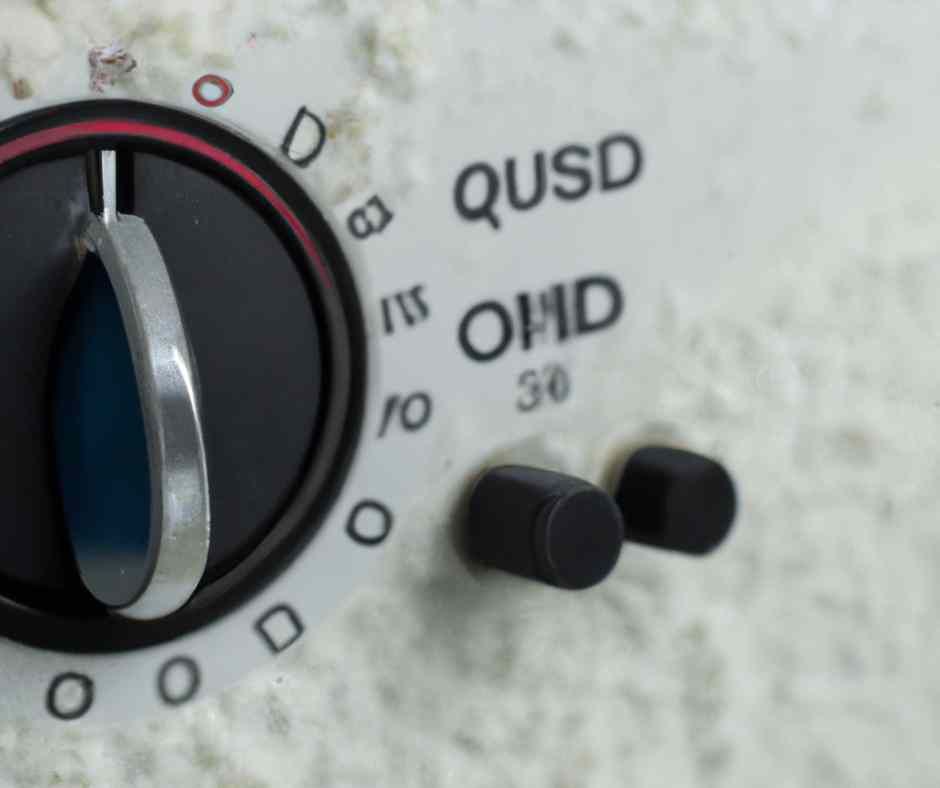
If you suspect a malfunctioning water level pressure switch, start by unplugging the machine and turning off the water supply. Locate the pressure switch, typically situated at the top panel or inside the machine near the tub. Carefully inspect the switch and its connections for any visible damage or loose wires. Clean the air tube connected to the switch by blowing into it to dislodge any blockages. If the issue persists, consider replacing the water level pressure switch to rectify the continuous filling and draining problem.
Read More: How to Fix F5 Error on Whirlpool Washer
Inspecting And Cleaning Water Inlet Components
One common issue that many homeowners face with their Whirlpool washing machines is the constant filling and draining of water. This can be both frustrating and worrisome, as it disrupts the normal washing cycle and may indicate a problem with the machine’s water inlet components. In this section, we will guide you on how to inspect and clean the water inlet valve and filters, which are crucial for ensuring the optimal functioning of your washing machine.
Checking Water Inlet Valve For Damage
The water inlet valve is responsible for controlling the flow of water into the washing machine. Over time, it can become damaged or clogged, leading to issues such as the machine continuously filling and draining. Here’s how you can check the water inlet valve for any signs of damage:
- Turn off the washing machine and unplug it from the power source.
- Locate the water inlet valve, usually situated at the back of the machine.
- Inspect the valve for any cracks, leaks, or signs of corrosion.
- If you notice any damage, it is advisable to replace the water inlet valve. Contact a professional technician or refer to your washing machine’s manual for instructions on how to do this.
Cleaning Water Inlet Filters To Remove Debris
The water inlet filters play a vital role in preventing debris, such as dirt and particles, from entering the washing machine. Over time, these filters can become clogged with buildup, hindering the proper flow of water and causing the machine to continuously fill and drain. To ensure the filters are clean, follow these steps:
- Turn off the washing machine and unplug it from the power source.
- Locate the water inlet filters, which are usually located near the water inlet valve.
- Remove the filters by gently twisting them counterclockwise.
- Inspect the filters for any debris or buildup.
- If you find any debris, clean the filters by rinsing them under warm water and gently scrubbing with a soft brush.
- Once clean, reattach the filters by twisting them back into place in a clockwise direction.
By regularly inspecting and cleaning the water inlet components of your Whirlpool washing machine, you can ensure proper water flow and resolve the issue of the machine constantly filling and draining. Remember to consult your washing machine’s manual or seek professional assistance if you encounter any difficulties during the inspection or cleaning process.
Testing And Replacing Water Level Pressure Switch
The water level pressure switch plays a crucial role in determining the right amount of water needed for each wash cycle in your Whirlpool washing machine. If this switch malfunctions, it can cause your washing machine to keep filling and draining continuously. In this section, we will look at how to test and replace the water level pressure switch in order to resolve this issue.
Identifying Faulty Water Level Pressure Switch Symptoms
A faulty water level pressure switch can exhibit various symptoms that indicate a problem. By recognizing these symptoms, you can determine whether the water level pressure switch is causing the continuous filling and draining issue in your Whirlpool washing machine. Some common symptoms of a faulty pressure switch include:
- washing machine continues filling or draining without stopping
- Inconsistent water levels during the wash cycle
- Overfilling or underfilling of water in the drum
- Error codes related to water level detection
Testing Water Level Pressure Switch For Continuity
In order to determine whether the water level pressure switch is functioning correctly, you can perform a simple continuity test. This test will help you identify if there is any break in the electrical circuit of the switch. Follow these steps to test the water level pressure switch for continuity:
- Disconnect the power supply to the washing machine to ensure safety.
- Locate the water level pressure switch, typically located near the top of the machine.
- Identify the electrical terminals on the pressure switch.
- Use a multimeter to measure continuity between the terminals.
- If there is no continuity between the terminals, it indicates a faulty water level pressure switch that needs to be replaced.
Replacing Water Level Pressure Switch If Necessary
If the continuity test confirms that the water level pressure switch is indeed faulty, it is time to replace it. Here is a step-by-step guide to replacing the water level pressure switch:
- Make sure the washing machine is disconnected from the power supply.
- Remove the control panel or back panel to access the pressure switch.
- Disconnect any electrical connections and hoses connected to the pressure switch.
- Remove the faulty water level pressure switch from its mounting.
- Install the new pressure switch in the same position and reconnect all electrical connections and hoses.
- Reassemble the control panel or back panel.
- Connect the power supply and test the washing machine by running a cycle to ensure the issue is resolved.

Credit: www.whirlpool.com
Checking The Drain System For Blockages
When it comes to your Whirlpool washing machine constantly filling and draining, one of the possible causes could be blockages in the drain system. These obstructions can prevent proper water drainage and disrupt the normal functioning of your machine. In this section, we will guide you through the steps to examine the drain hose for clogs or kinks and clear any blockages in the drain pump or filter, ensuring that your washing machine operates efficiently.
Examining The Drain Hose For Clogs Or Kinks
One of the primary areas to check for blockages is the drain hose. This hose is responsible for carrying the water out of your washing machine and into the drain or laundry tub. Follow these steps to examine the drain hose:
- First, ensure that your washing machine is unplugged to avoid any accidents.
- Locate the drain hose, usually found at the back of your machine.
- Inspect the hose for any clogs or kinks that may be obstructing water flow.
- If you find a clog, carefully remove it using a plunger or by manually unclogging it with your hands while wearing gloves.
- If the hose is kinked, straighten it out to allow smooth water drainage.
By thoroughly examining and addressing any clogs or kinks in the drain hose, you can eliminate one potential cause of the constant filling and draining issue in your Whirlpool washing machine.
Clearing Blockages In The Drain Pump Or Filter
In addition to the drain hose, the drain pump or filter can also become clogged, obstructing proper water drainage. To clear blockages in the drain pump or filter, follow these steps:
- Start by locating the drain pump or filter, typically found at the bottom of your washing machine.
- Check for any debris, dirt, or foreign objects that may be causing the blockage.
- If you find any obstructions, carefully remove them using tweezers or a small brush.
- Once you have cleared the blockages, reassemble the drain pump or filter.
Clearing any blockages in the drain pump or filter ensures proper water flow and can help resolve the constant filling and draining problem in your Whirlpool washing machine.
By examining the drain hose for clogs or kinks and clearing blockages in the drain pump or filter, you can effectively troubleshoot the issue of constant filling and draining in your Whirlpool washing machine. However, if the problem persists, it is advisable to seek professional assistance to avoid any further complications.
Resetting The Washing Machine Control Board
Is your Whirlpool washing machine continuously filling and draining water? This can be frustrating and disrupt your laundry routine. However, before you call for professional help, there are a few simple steps you can take to reset the washing machine’s control board and potentially resolve the issue yourself.
Performing A Hard Reset To Reboot The Control Board
If your Whirlpool washing machine is stuck in a continuous cycle of filling and draining, performing a hard reset can often resolve the problem. Here’s how you can do it:
- Start by disconnecting the power cord from the electrical outlet that powers your washing machine. Ensure it is completely unplugged.
- Wait for approximately one minute before plugging the power cord back into the outlet.
- After plugging it back in, locate the “Cancel” or “Stop” button on the control panel of your washing machine.
- Press and hold this button for about three seconds. This will initiate the hard reset process.
- Once the reset is complete, you may hear a beep or see the lights on the control panel flash. This indicates that the control board has been successfully rebooted.
Performing a hard reset can often clear any temporary glitches or errors in the control board, allowing the washing machine to function normally again.
Calibrating The Control Board To Reset Sensors
In some cases, a misalignment or incorrect calibration of the control board’s sensors can cause the washing machine to continuously fill and drain. To rectify this, you can try calibrating the control board by following these steps:
- Make sure your washing machine is empty and turned off.
- Press and hold the “Start” button on the control panel for approximately five seconds.
- While still holding the “Start” button, turn the washing machine on.
- Continue holding the “Start” button until you hear a beep or see the lights on the control panel flash.
- Release the “Start” button.
- Now, the control board will enter the calibration mode and recalibrate its sensors.
- Wait for the calibration process to complete. This may take a few minutes.
By calibrating the control board, you allow it to reset its sensors and adapt to the current conditions, which can help resolve the filling and draining issue.
Remember, if these troubleshooting steps do not resolve the problem, it’s advisable to contact a professional technician who can diagnose and repair any underlying issues with your Whirlpool washing machine.
Frequently Asked Questions For Whirlpool Washing Machine Keeps Filling And Draining
Why Is My Whirlpool Washing Machine Continuously Filling And Draining?
There could be several reasons why your Whirlpool washing machine is constantly filling and draining. One possibility is a faulty water level sensor, which regulates the water flow. Another potential cause could be a clogged or damaged drain pump. It’s best to contact a professional technician to diagnose and resolve the issue to prevent further damage to your appliance.
What Should I Do If My Whirlpool Washer Keeps Filling And Draining?
If your Whirlpool washer is continuously filling and draining, try resetting the machine by unplugging it for a few minutes and then plugging it back in. Check if the water inlet valve is clogged or malfunctioning, and clean or replace it if necessary.
If the problem persists, it’s advisable to seek assistance from a certified technician.
How Can I Prevent My Whirlpool Washing Machine From Filling and Draining Repeatedly?
To prevent your Whirlpool washing machine from filling and draining repeatedly, make sure to properly load the machine with the correct water level for each wash cycle. Avoid overloading the washer, as this can cause water to drain and refill excessively.
Regularly clean the water inlet valve and drain pump to prevent blockages and malfunctions.
Why Is My Whirlpool Washer Stuck In A Continuous Fill And Drain Loop?
If your Whirlpool washer is stuck in a continuous fill and drain loop, it may indicate a problem with the electronic control board or a faulty water level sensor. Additionally, a malfunctioning pressure switch or water inlet valve could be causing the issue.
It’s recommended to consult a professional technician to diagnose and fix the problem accurately.
Conclusion
If your Whirlpool washing machine keeps filling and draining, it could indicate a problem with the water level switch, drain hose, or inlet valve. Regular maintenance and troubleshooting can help resolve this issue. It is important to address the problem promptly to prevent any further damage to the machine.
Remember to consult the manufacturer’s manual or seek professional help for proper guidance. Stay proactive in identifying and resolving such issues to keep your washing machine functioning optimally.
