
Is your washer not agitating properly? Don’t worry; we’ve covered you with this easy-to-follow guide on replacing the Amana Washer’s Agitator Assembly. Whether your assembly is damaged or broken, you can have your clothes swirled and cleaned again. Just gather your tools, a bit of patience, and let’s dive into this DIY repair adventure.
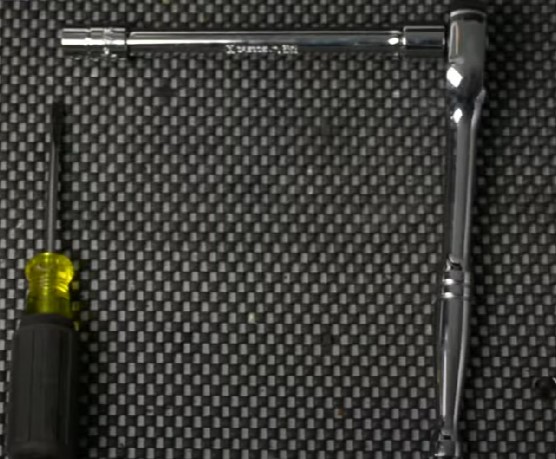
Tools You’ll Need:
- Flat-head screwdriver
- 7/16 socket and ratchet
Important Safety Reminder: Before starting any repairs, disconnect the power source from your washer to ensure safety.
Step 1: Assessing the Situation
Begin by identifying the agitator assembly that needs replacement. While the model might vary, the general approach remains the same. Open up your washer to access the agitator assembly.
Step 2: Removing the Top Piece
The agitator assembly consists of the agitator itself and the agitator base. To remove the top piece, gently insert a flat-head screwdriver into the tab located inside and lift it up. This will release the top piece from the base.
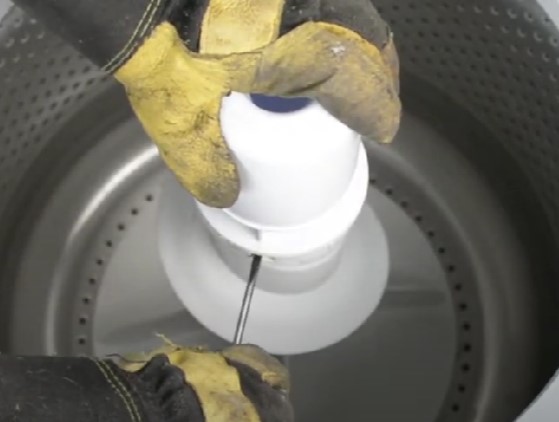
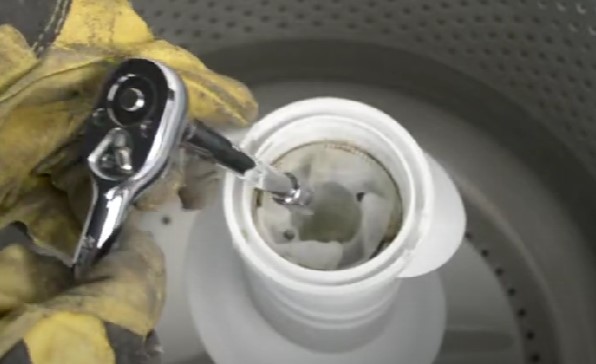
Step 3: Loosening the Auger Screw
Underneath the top piece, you’ll find a screw holding the drill in place. Use a 7/16 socket and ratchet to loosen this screw. Once it’s loose enough, pull up the drill to remove it from the assembly.
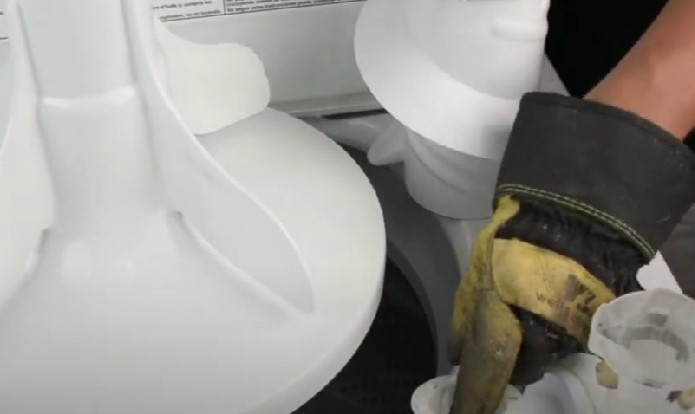
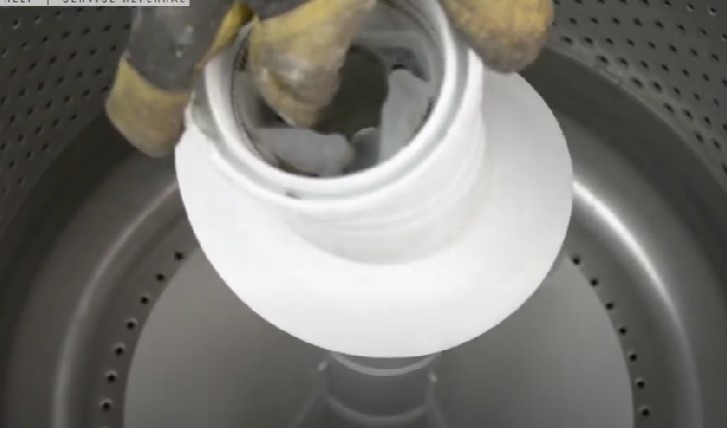
Step 4: Removing the Agitator Base
Take off the plastic ring surrounding the agitator base. Now, you can pull out the entire base from the assembly.
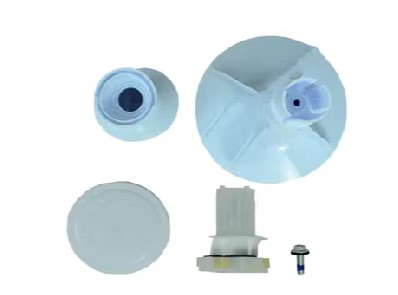
Step 5: Preparing the New Assembly
If you don’t have the replacement agitator assembly, you can find it online. The new assembly includes the base, drill, can, and washer. First, place the can inside the drill and let it drop into position. Then, insert the base over the pipe, ensuring it’s firmly in place.
(screenshot)
Step 6: Attaching the Plastic Washer
Position the plastic washer to line up with the four tabs on the base. The washer should fit into the slots around the edges.

Step 7: Reassembling the Auger
Carefully slide the drill (auger) back into its designated space. If your can was removed, align the extra slit on it with the tabs at the bottom, then press it down securely.
Step 8: Securing the Assembly
Use the 7/16 socket and ratchet to screw the drill back into place. Tighten the screw enough to secure the assembly, but be cautious not to overtighten.
Step 9: Reattaching the Fabric Dispenser
With the assembly in place, put your fabric dispenser back on. There’s a clip on the side of the dispenser that fits into a corresponding slot. Press the dispenser down until it clips into place securely.

Finishing Touches
With everything securely in place, close the washer door. You’ve successfully replaced the agitator assembly! Remember to plug in your washer before using it again.
Congratulations on completing your agitator assembly replacement! You’ve just breathed new life into your Amana washer, ensuring it agitates your clothes flawlessly once more. Remember, if you encounter any difficulties or uncertainties, don’t hesitate to refer to your washer’s manual or seek professional assistance. Happy washing!
2 thoughts on “Replacing Amana Washer’s Agitator Assembly: 9 Easy Steps”